The folks at Godin have done an excellent job re-creating a classic acoustic archtop design. These Canadian made guitars are very well crafted and in many ways better than the various manufacturers that mass produced these types of guitars in the 30's-60's. With the solid top, they are sure to age well and sound better and better as they are played.

Although they come with optional soapbar style pickups installed, the owner of this one wanted something a little different. He dropped this off with most of the components required for a pickguard mounted humbucker and thumbwheel volume & tone controls.

The pickguard will be a bit of a challenge, as it has become warped over time as the owner likes to rest his fingers on it while playing. This was bound to happen with the usual two anchor points not providing support where he needed it.
The first order of business is to protect the pickguard and lay out the components to see how they'll line up. This pickup will be mounted in the neck position up against the end of the fretboard. As you can see, the pickup housing will encroach into the pickguard 7/32" for proper string alignment.
After a visit to Dad's old scroll saw and some minor hand filing, the pickup mounting tab slid nicely in place under the pickguard. Now for some creative fabrication...
The height of the pickguard causes the pickup to be pressed against the strings if the mounting tab was flush against the underside of the pickguard. I need a way to add height adjustment screws without sacrificing stability of the pickup mount, considering it's only anchored on one side...
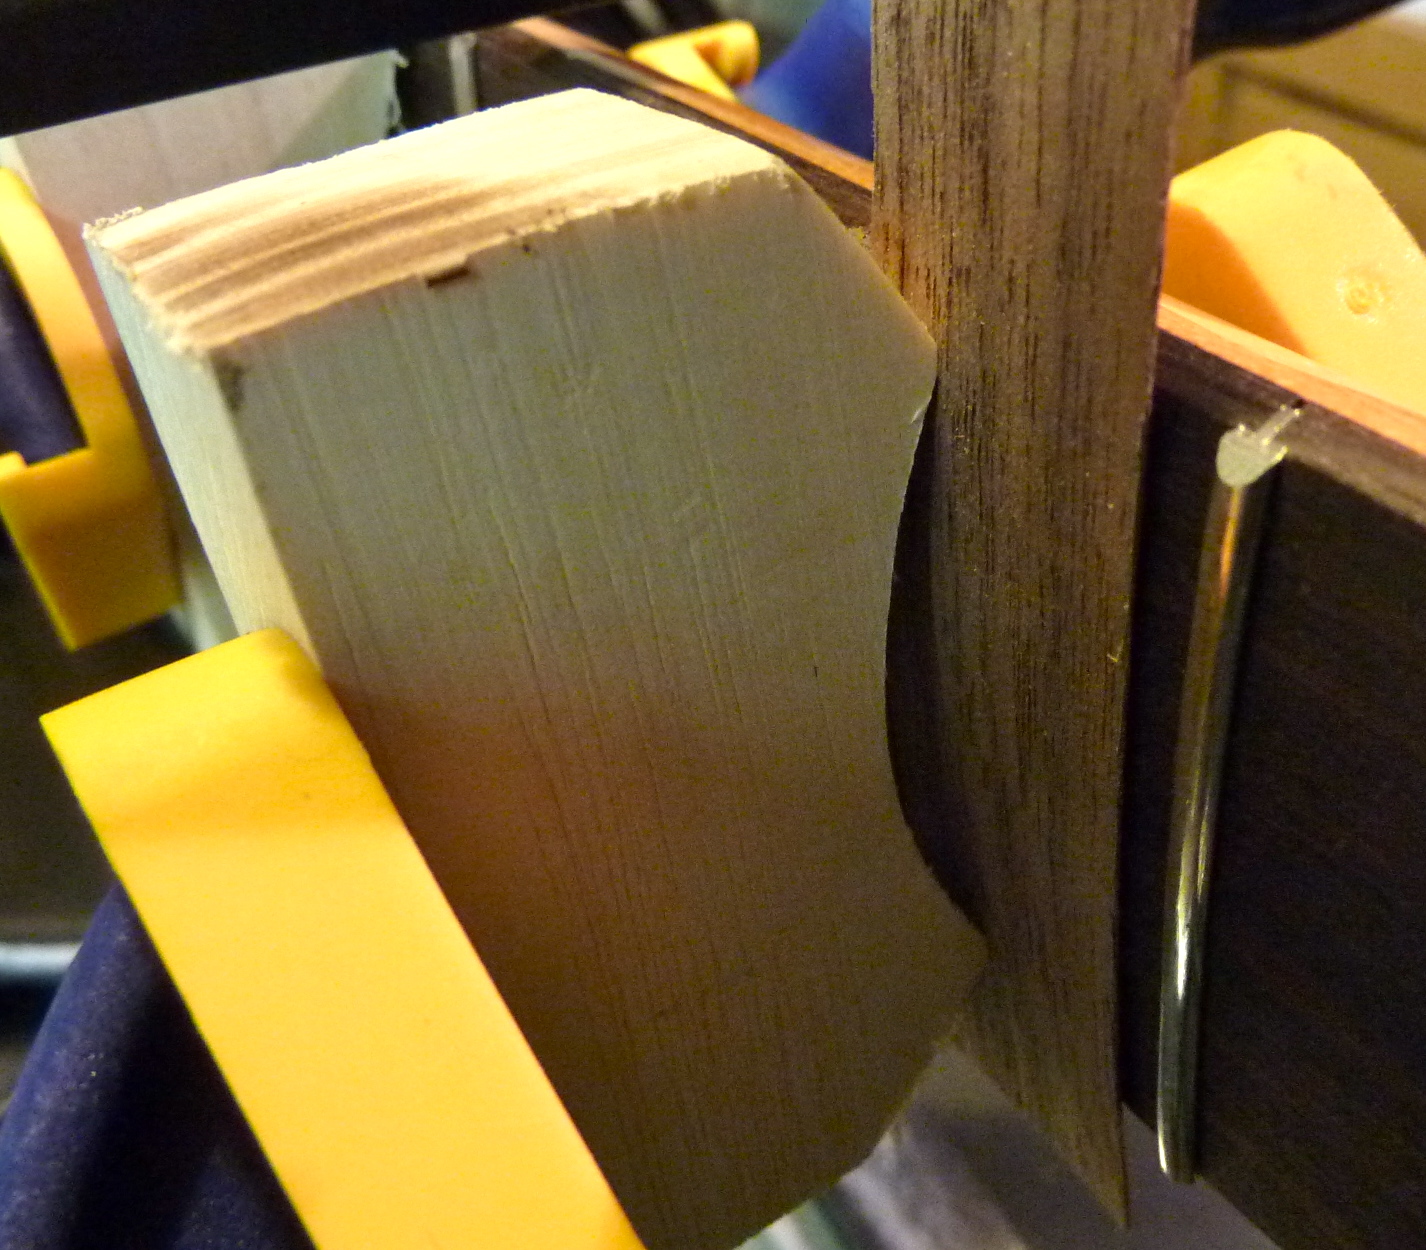
After selecting some similarly coloured hardwood, I made an "elevator channel" with a cork bottom that will protect the soundboard of the guitar. It's the same height as the spacer that mounts the pickguard to the body just below the fretboard, and allows about 1/2" of travel up and down for the pickup.
Mounted to the underside of the pickguard with countersunk screws, it will provide lateral stability for when the spring loaded pickup mounting screws are installed.
Holes drilled and machine screws inserted ~ now I need a way to stop the nuts from spinning independently when adjusting the height of the pickup...


That should do the trick ~ after carefully measuring the distance between the edges of the nuts when mounted then adding 1/8", a small hole was drilled in the side of the nuts and a piece of lockwire was soldered in.
The full assembly. From the bottom: The cork layer that will sit flush against the body, the adjusting nut, the pickup mounting tab, the adjustment spring and the pickguard. Now to wire it all together...
Removing the tailpiece revealed a hole already drilled (top). I imagine this was done at the factory, as some of these guitars come equipped with soapbar pickups that would require a grounding wire to the tailpiece. Saves me some work! The bottom hole I drilled after removing the strap pin that had a stripped screw that required a little extra drilling and extraction.
The jack will also serve as the strap pin once installed in the bottom hole.

After sanding off the plating from the underside of the tailpiece, a grounding wire was soldered on which will be fed through the top hole.
Piecing it all together ~ this being a jazz neck pickup, I selected a .15uf capacitor to retain some high end and leave it with some bite at higher volumes. The controls were adhered with industrial double-sided tape that is strong enough to stand the test of time but can also be removed for adjustment if needed.
Prior to assembly, I gently flattened the pickguard from it's warped state by using an iron at it's lowest setting and a damp cloth while applying lots of pressure.
The final result ~ a great sounding, height adjustable, pickguard mounted pickup with no additional holes drilled in the body of the guitar.


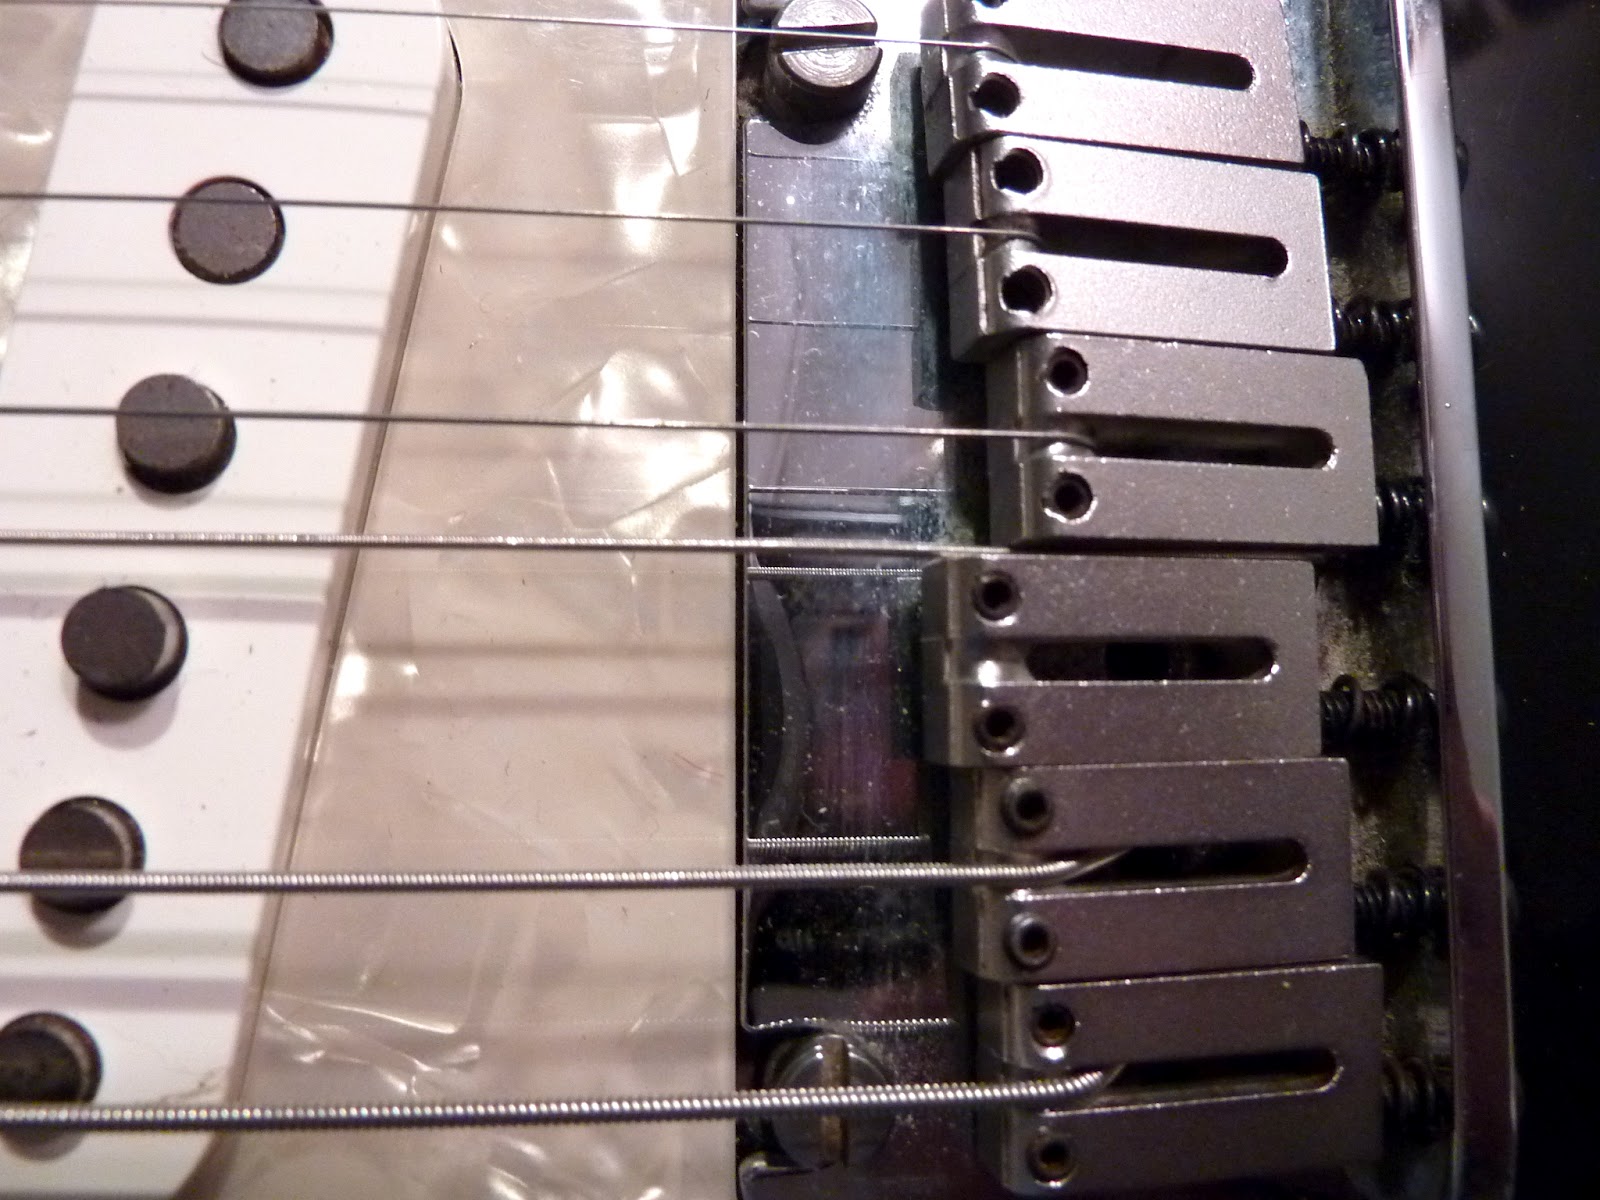
 A quick way to check is to remove the D string and pinch it between the 3rd and 4th saddles, then hold it taught at the middle of the nut. The string should align perfectly centred down the fretboard, and you can use the inlays as a guage...


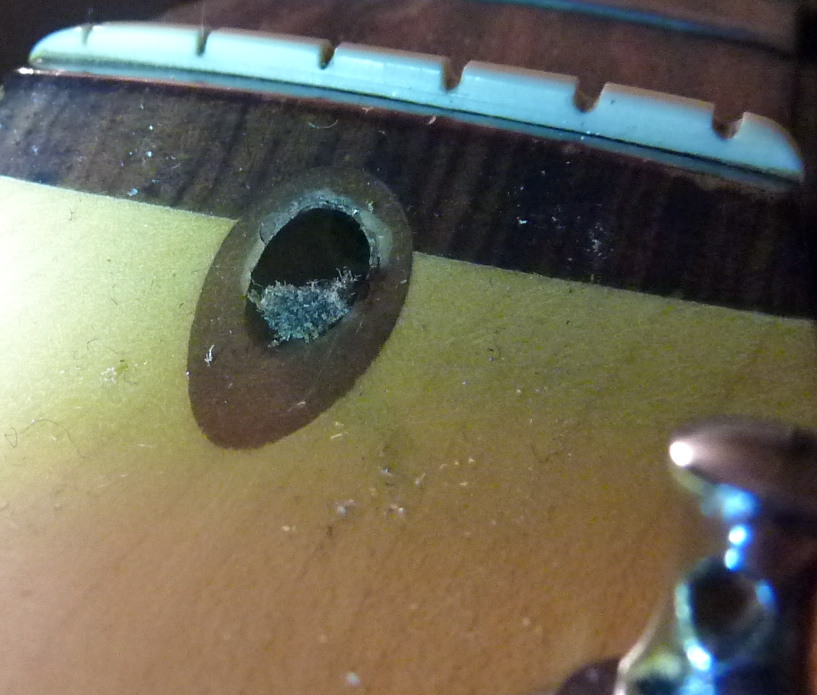 A close-up inspection of the nut shows a considerable amount of debris compacted in the allen-key adjustment nut. Using a scribe and some contact cleaner I was able to loosen and remove it.