My other stuff...

Monday, September 5, 2011

1990 Hamer Centaura ~ UPDATE!

With the owner of this project due to arrive back home in a few weeks, I thought I'd post some more pics just to keep him excited!

In the previous post I pointed out where the body cavity near the switch was sanded dangerously thin.  While I won't divulge how the hole was patched (it's a surprise), I will show how it has been reinforced.


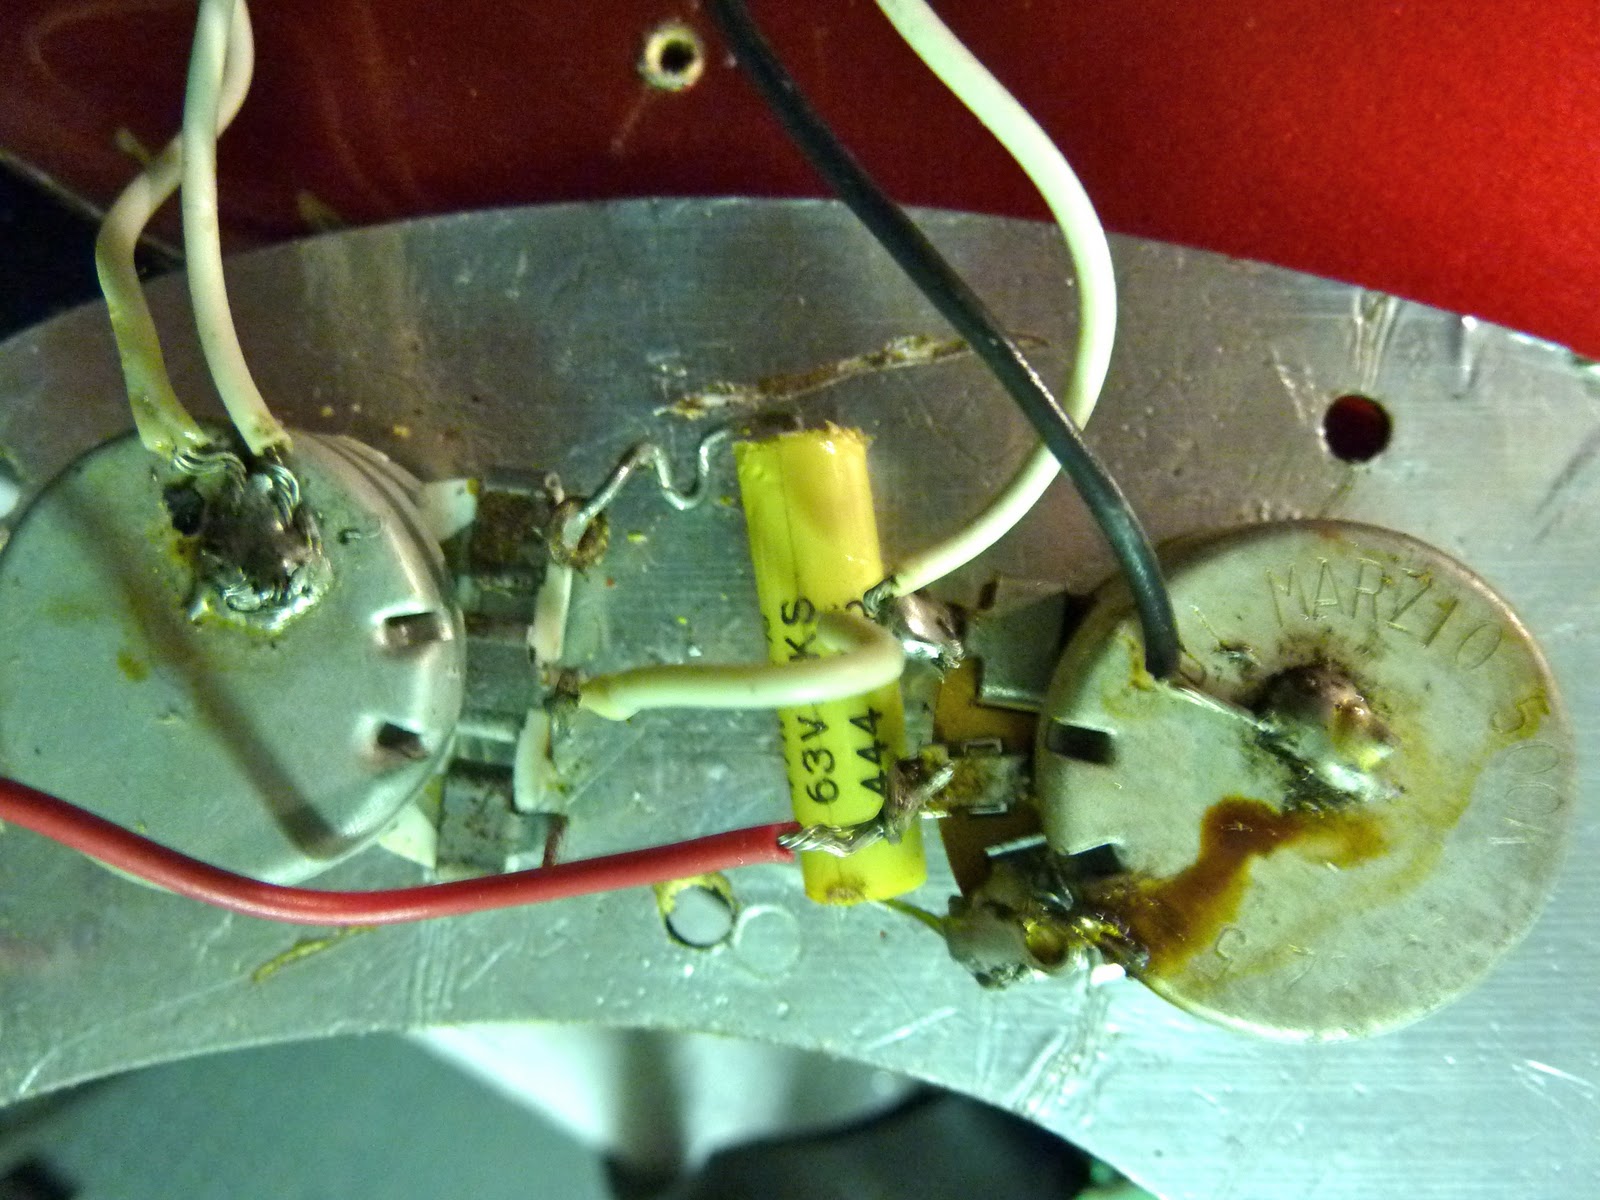
Inside the body cavity was a recess machined further into the surface to accommodate the 5-way switch.  With the body sanded thinner, the recess is no longer required and the remaining surface is only about 1mm thick.  The recess is deep enough to fit two layers of mahogany veneer, so I'll cut them to shape with the grain alternating direction for added strength.


A straightforward technique that I remember from elementary school art class!  Capturing the outline of the recess on some tape, then transferring it on to the piece of veneer, with some careful cutting and sanding will achieve a form-fitting piece.


Under the tape is the veneer.  The main concern now is to ensure adhesion in the edges but avoiding direct pressure near the weakened slot that houses the sliding switch.


A pair of used frets taped to a small sanding block will do the trick! Two layers were fitted this way and a final third layer will be added (after sanding off the remaining old finish) to cover the entire switch area, making the area much stronger and able to withstand regular use.


A new control cover was also required.  Sanding off the original finish left the cavity too shallow to accommodate a new plastic control plate, so the area will have to be milled down.  A Dremel with cutting wheel and an improvised jig will get it started.


Set to the appropriate depth, a groove was cut around the edge below the surface. A good sharp chisel and some delicate elbow grease will do the rest!


Now to make the control plate.  A much cheaper option than ordering a pre-feb one for this discontinued model.


Once again transferring the traced outline, this time on to a sheet of black pickguard plastic.  After a trip to the bandsaw and belt sander and some tweaking with a sanding block, this dropped right in to place.


Now to align the holes.  Many people would simply drill new ones and fill the old ones, but the time it takes to transpose the location of the original holes is about the same.


Painter's tape has been my best friend on this project!


Aligning the pencil marks with the corresponding corner allowed pinpoint accuracy for the screw holes.


Countersunk and ready for the finishing touches!  More updates on this project to come!

Monday, August 29, 2011

Broken Strat whammy bar

Can't believe it was May since my last post!  I've been so entrenched with basement renos (to include a new workshop ...eventually...) and summer fun that my guitar projects have taken a back seat.  Thankfully my clients haven't had any emergencies!

Until now...

This part of the Strat tremolo is often overlooked during the preparation process.  These threads need to be lubricated and cleaned quite often, as the beep hole in the trem block is the perfect place for grime to hide.

Many players use a graphite lubricant for many areas of the guitar, but for this particular spot I recommend just a drop of clear mineral oil on the bottom few threads.  Graphite lube in this area will only accumulate more grime over time.

With this guitar, the bar has broken off rather deep ~ below the surface of the trem block if it were to be removed.  In cases where they break off flush or slightly below the saddle plate, removal of the trem block would allow you to unscrew the broken piece by hand as it would be exposed above it's surface ~ no drilling required.


Despite centre punching the piece, these extractions can often go awry due to the uneven surface created from the break.  After a visit to the drill press, the hole meandered off centre but I caught it on time before it damaged the threads of the trem block.  Just enough of a hole to use the extractor bit to remove the piece.


I noticed the piece was quite short, meaning not a lot of thread was turning in to the trem block.  When I attempted to install a new arm, the threads were very stiff and it was obvious they needed a good cleaning.

A liberal amount of mineral oil on the threads of the new arm, and working it back & forth in the threads began to work the grime lose.  The threads were so tight with buildup that the arm could only be threaded in half way before it was tight, which explains why the old arm broke off so short.
Each time the new arm was threaded in tightly, it was removed, cleaned, re-lubricated and threaded in again going further every turn.  
It didn't take long to feel the results ~ the new trem arm threaded in all the way down with the appropriate amount of tension.

Saturday, May 7, 2011

Guild GAD-50 ~ saddle repair


I've always loved the adjectives people choose to describe the sound of an instrument.  How does something sound bright, dark, brown, flappy, muddy, jingly, raspy, layered, twangy, or rootsy, etc.?  I'm not exactly sure, but we all seem to know it when we hear it.

This guitar has lots of "Schraang!"

I'm always sceptical of off-sohore made instruments, but there's always the exception which is where this one sits.  Bang for buck, the quality of these guitars is outstanding.


The owner of this guitar regularly puts it through it's paces.  The concern here was that the high B and E string had become quieter in the EQ when plugged in, in addition to the high E buzzing with a "sitar" effect.  Inspecting the saddle soon showed where the problem was.  When the pickup system was installed, there were no grooves cut in the new bone saddle to house the strings.  Subsequently, the owner regularly lubricated the saddle with graphite in an attempt to alleviate some audible buzzing and/or intonation issues.

Over time, the lubricant worked it's way on to the b-band pickup under the saddle and congealed itself between the saddle and pickup surface, causing a muted response when plugged in.


Once this gunk was cleaned off down to the original surface, the saddle itself was addressed.  Appropriately wide and deep slots were cut to accommodate the strings, the intonation was set by sculpting the saddle in place.  No more graphite lube required!


Friday, May 6, 2011

1990 Hamer Centaura ~ Life Support ++

Amid many other ongoing projects, this is one that I've been chipping away at bit by bit. Fortunately, the owner has given me lots of time, but knowing he's waiting so patiently I thought it would be time for an update! I'll refresh this post with it's progress in due time...

These are excellent, US made guitars and it's obvious the owner has certainly poured some mojo into this particular one. The finish was removed to reveal the solid Mahogany body, and the stock pickups have been replaced with a Seymour Duncan JB in the bridge and two vintage Strat style singles in the middle and neck.


Sanding the finish resulted in making the area by the switch plate quite thin and frail.  This will need some reinforcement that will involve some custom work.


The initial concern with this guitar was the wiring that was done when the pickups were replaced. While it did work, it wasn't to the standard that the owner would like.  There is also a component missing that I believe may have been a toggle switch for coil splitting.  Endless options are available to put in that opening, so we'll see what the owner decides...


You can see some left-over red sparkle paint under the control cover, which was misplaced over the years.  No problem to cut a new one to shape, but the concern now is that the sanding of the body has resulted in a very shallow recess that is not deep enough for the cover to sit flush.  This will be routed down to accommodate the new cover.


This Schaller-made licensed Floyd Rose is in need of a thorough cleaning, as with the rest of the components.  This guitar has been dismantled completely for this project so as to breathe new life into it and get it back in to service!

You can see the string spacing on the humbucker is narrower than the bridge.  This pickup is for a Gibson style scale.  For this type of bridge, a Trembucker is required ~ same pickup but with wider string spacing. Fortunately I have one in stock!


Piece by piece, the tremolo was overhauled and thoroughly cleaned and threads lubricated.  I make sure to keep the same saddle graphite clamp blocks (the small cubes) in their original location, as the wound strings tend to make an indent over time.  If they were to be mixed up, it's quite possible to be faced with a "sitar" effect buzzing away in an unwound string.


No explanation for this, other than an obvious shortage of shrink tube!  This pickup can easily be repaired with a little time and solder, not to mention a good cleaning.


Still lots of playing left in these frets.  Once they're dressed and these inconsistencies are removed, it will feel like new!


A common occurrence on well played guitars ~ individual string indents in the first 3-5 frets and then flat crowns in the upper register where string bending is done.  These jumbo frets are still tall enough to benefit from dressing.


This fretboard is begging for oil.  Buildup of grime will suck a lot of the natural oils out of the wood, making it more susceptible to wear.  A cleaning and light coat of lemon oil when changing strings will not only prolong the life of the fretboard, but it will also be a pleasure to play.


Stay tuned!


Wednesday, March 30, 2011

1977 Fender Precision Bass


A genuine road worn ~ this workhorse could certainly tell some stories of gigs gone by!  Over it's years of service, it has been beaten up, rewired, re-bridged, re-painted, etc, etc ~ and now it needs blood transfusion!  This was dropped off for a fret re-crowning and some electronics issues as well as a set-up.

   
At some point someone had hand-filed the frets quite flat.  Fortunately there is enough meat left on them that they can be crowned and dressed without having to do a re-fret quite yet.


The ridges created by the flat filed crown and a few years of playing made this bass play quite awkwardly. Some careful filing took the ridges off these frets, and after a dressing and polish they were back to feeling like normal.


Fitted with aftermarket chrome Schaller bridge and tuners certainly weren't complimented by the gold knobs!  These will be replaced with chrome knobs once the electronics are sorted out.

The worn away areas on this body reveal no less than four colours!

No idea what may have inspired someone to hack away at the control cavity.  Then again, this was the CBS era of Fender in full swing and it was, after all, the 70's!


As you can probably tell, it didn't take long to realize why this bass was having issues with the electronics.  As these were not the original parts and the cost to clean them up and save them would be more than replacement, this assembly was overhauled!


This bass now plays like a breath of fresh air!  It has many more years left in it and sounds great.  Now where did I put that Sly & The Family Stone LP?


Thursday, March 24, 2011

Morley JD10 preamp

Here's a nifty, long discontinued pedal/preamp that works very well as an overdrive and/or amp simulator as well as a preamp for practices or jams.  Besides, anything with Jerry Donahue's signature must sound good, right?  This certainly does!

After many years of use, this unit needed some internal cleaning.  Although very ruggedly constructed, just four small screws needed to be removed to access the pots and switches for servicing.  A smart design, and a relief not to have to dismantle the entire assembly as you must with most other pedals.
Some contact cleaner and working the pots back & forth did the trick.  As usual, the input and output pots were particularly sticky and needed a little extra persuasion!

The switch was quite gummed-up too.  Didn't take long to have this back in business again and working like new!