This US made player's Fender Strat was brought in with concerns that the truss rod may be seized or at the end of it's threads. It's also in desperate need of a fret dress. As usual, I conducted a preliminary inspection and something jumped out at me right away ~ can you see what it is?

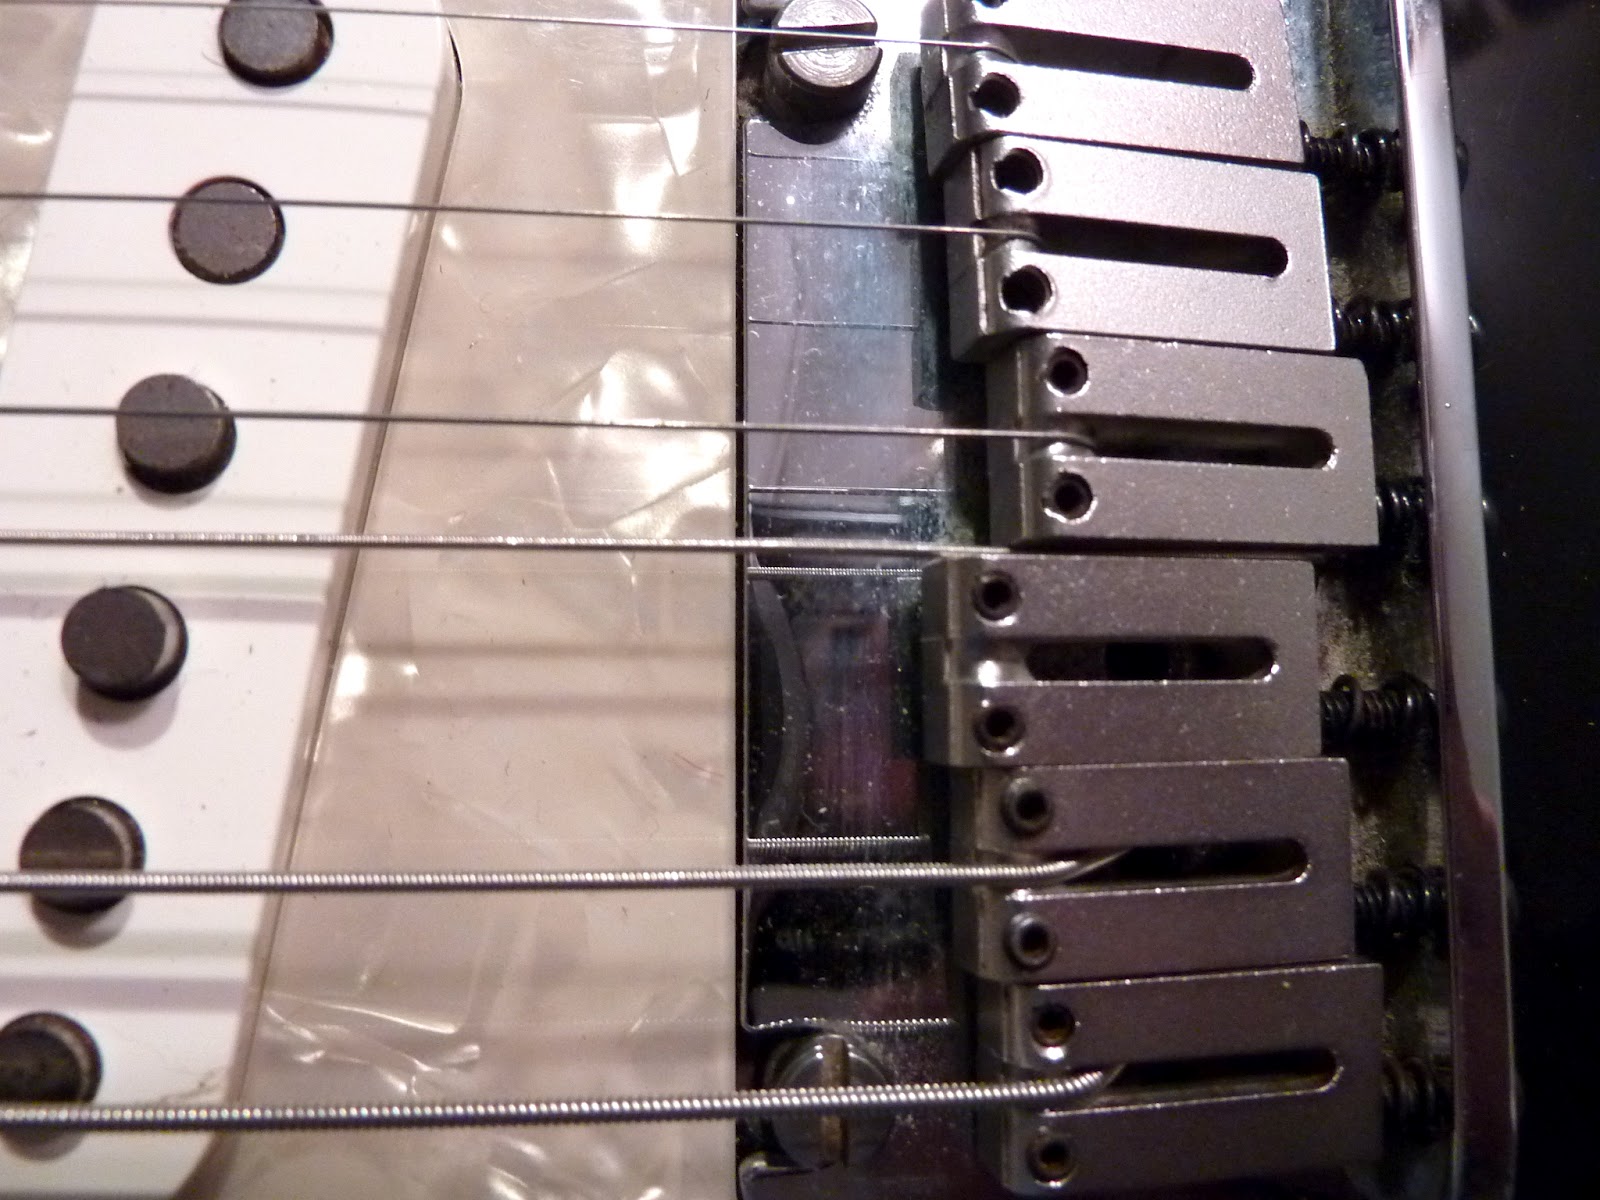
Notice the alignment of the strings? At the 12th fret, the low E was 3/16" closer to the edge of the fretboard and the high E was 3/16" further away. You can see it clearly where the strings align off-centre over the pole pieces of the pickups. This will need some further investigation...

A quick way to check is to remove the D string and pinch it between the 3rd and 4th saddles, then hold it taught at the middle of the nut. The string should align perfectly centred down the fretboard, and you can use the inlays as a guage...
At just the first inlay you can see how off-centre it is with the string riding slightly higher than the centre of the dot.
It's the opposite at the 15th to 19th frets, where the string rides slightly lower than the centre of the dots...
Unfortunately I didn't have another Strat on hand to compare, but mounting the neck on a known good body would help the process of elimination. Using some schematics I found online of Strat routing measurements, and considering the neck itself is perfectly straight, I was able to determine that it is most likely the neck pocket being slightly off. We'll have to see what the owner would like to do, as this makes a perfect set-up near impossible with this compound radius neck...
Now for the truss rod...

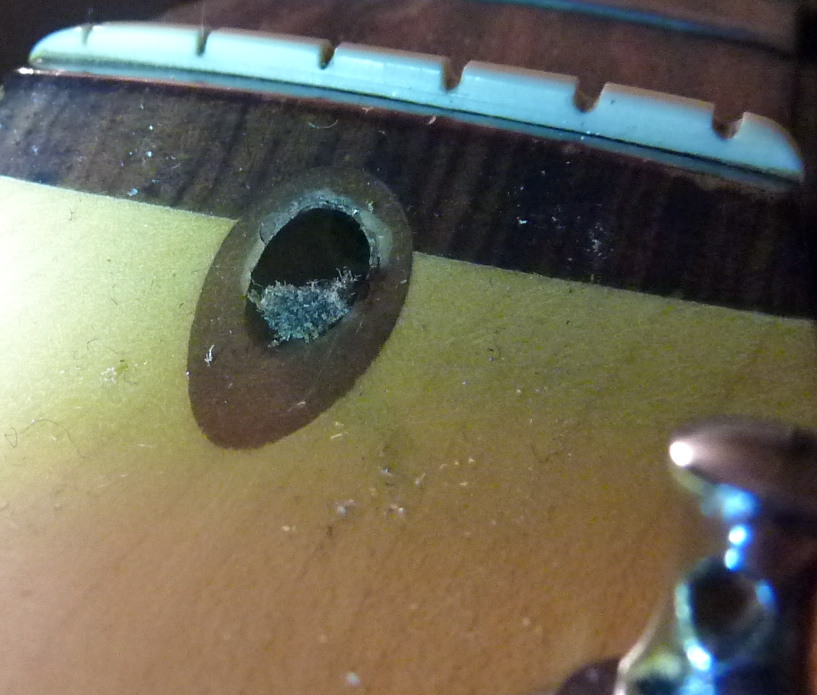
A close-up inspection of the nut shows a considerable amount of debris compacted in the allen-key adjustment nut. Using a scribe and some contact cleaner I was able to loosen and remove it.

Just to be sure, a few swabs put the finishing touches on it and I could now see the nut clearly ~ and the allen-key now fit perfectly too!

I was now ready to see if the truss rod would turn ~ and it didn't! But with a little added leverage it did move back & forth slightly. Perhaps a little heat will loosen it up...
Inserting the allen key firmly then holding a high-heat soldering gun to it allowed enough heat to transfer to the truss rod threads. This is a gradual process, but with a little time the nut was unseized and moved smoothly. A little mineral oil to keep it that way will do the trick for another ten years!
During set-up I noticed that the saddle on the low E was almost flush against the bridge plate ~ a clear indication that the neck angle is off..
You can see how the end of the neck dips slightly into the body. While this can eliminate some buzzing, the proper way to set it up is to keep it as level as possible so the saddles have some travel and adjust the bow of the neck to alleviate buzz. This particular Strat has the "micro-tilt" adjustment in the heel of the neck plate, which can back off over time with so much tension on it. This is a very minor adjustment that can have a major affect on playability. After a fret dress and set-up, this axe was ready for action!