My other stuff...

Tuesday, October 16, 2012

1987 Road Worn "Blackie" Fender Strat


There's a difference between Road Worn and Performance Worn!  This old battle-axe certainly has some significant war wounds.  I've known the owner for years and recall seeing this particular Strat launched across the stage on several occasions to the delight of the audience and to the rest of us thinking "that's going to hurt!"  It certainly did ~ the owner was on the verge of retiring it for good but decided that if Stevie Ray and Clapton can play those old beat-up Strats for so long, he can too.  He dropped it off for resuscitation...


A tremendous amount of time and passion has gone in to playing this guitar ~ most likely logging more hours than a majority of other guitars.  It's been unplayable for quite some time now as the owner cited issues with tuning, alignment, notes fretting-out and gremlins in the electronics.  A thorough assessment showed why...


Removing the pickguard revealed a large crack that goes diagonally all the through the upper bought of the body.  It runs through the bass side of the neck pocket which explains a lot about the issues with playability.  This is just one of the causes ~ more to follow...


This will be a tricky clamping job once the glue is injected into the crack.  The glue will need to be diluted so it runs through the entire crack and not just around the outer edges of it.


Fortunately, the rest of the guitar is still very solid, meaning a lot of force will be required to open this crack enough for the glue.


Using this ruler to keep the crack open at the top provided enough of an opening to inject the glue.


Regular carpenter's glue is the best option here, as it dries as solid as possible and is water soluble so I can get the right viscosity to have it reach through the entire crack.  I'll use the smallest gauge of syringe (on the right) to reach the most areas.  About 40/60 water to glue turned out to be just the right mix.


Once set and clamped, I wiped off the excess glue with a damp rag and tilted the assembly so that the larger opening of the crack is upmost, allowing the glue to flow down into the crack as much as possible.  After drying overnight, it was very solid and didn't open at all when pressure was applied.  The surfaces aligned perfectly ~ success!

Now for the other concerns...


With the tremolo removed it's obvious this has had some work done to it in the past.  You can see where there used to be a two-post style trem and the anchors have been removed and doweled in favour of the vintage six-screw style.  A reinforcement plate has been glued over top for stability, but it unfortunately didn't extend past the original post holes and created a weak area at the edge that eventually cracked.


A solid maple shim, 1/4" wide by 1" deep, will be installed along the scribed line extending to the outer pickguard screw holes, making it stronger than the day it was made.  By leaving about 1/3rd of the screw holes will eliminate the guesswork of where they need to be once the shim is in place.


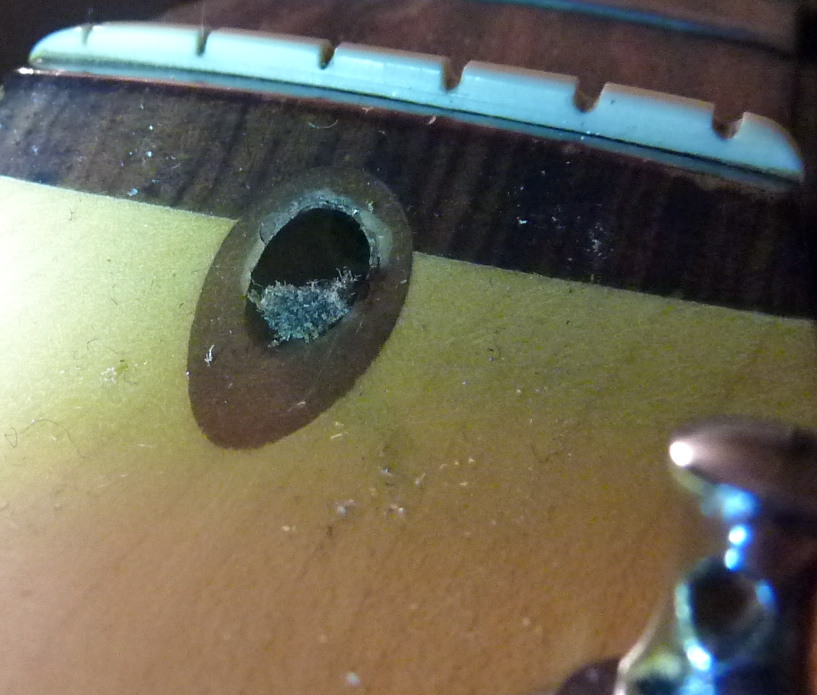
Once the area was routed out it was clear that this was not the first place these holes were drilled, making the already thin area even weaker.


The router bit leaves rounded ends.  To square them off in the slot would be a pain, but getting the radius right on the shim itself is equally challenging.  I used a drill bit gauge that has a 1/4" hole to mark the radius at the end of the shim.  It was then carefully hand sanded to create a very snug but not a stiff fit ~ need to leave room for the glue and don't want the shim to induce added stress on the already weak area.


Clamped in place ~ I wanted to make sure both sides of the long edge were flattened evenly as well as being flat against the bottom of the routed slot.  The shim was left about 1/16" higher than the slot to provide a clamping surface as well as to be sanded perfectly flush with the body once dried in place.


Much better!  No more concern with this area cracking away for a very long time ~ if ever.

In addition to a fret dress and fretboard cleaning, the bare wood that has been exposed on the neck over years of wear also need to be addressed.  This was wet-sanded thoroughly with 400 to 800 grit paper in order to lift any loose dirt and smooth it to a satin finish.  It was then french polished with five coats to protect both the fantastic worn patina and the bare wood itself.  I'm certain the french polish will be worn off again in due time!

Now for the pickguard assembly. This certainly isn't original, but it has been in place for a very long time and for many shows. Definitely an amateur job that didn't stand the test of time, as a few of the solder joints were lose (a.k.a. "cold" solder joints), the ground wiring was very messy, and the shrink tubing was the wrong size and covered bad splicing.


Time to warm up the soldering gun!

Before and after ~ much cleaner and the volume pot is ready for some neater soldering.


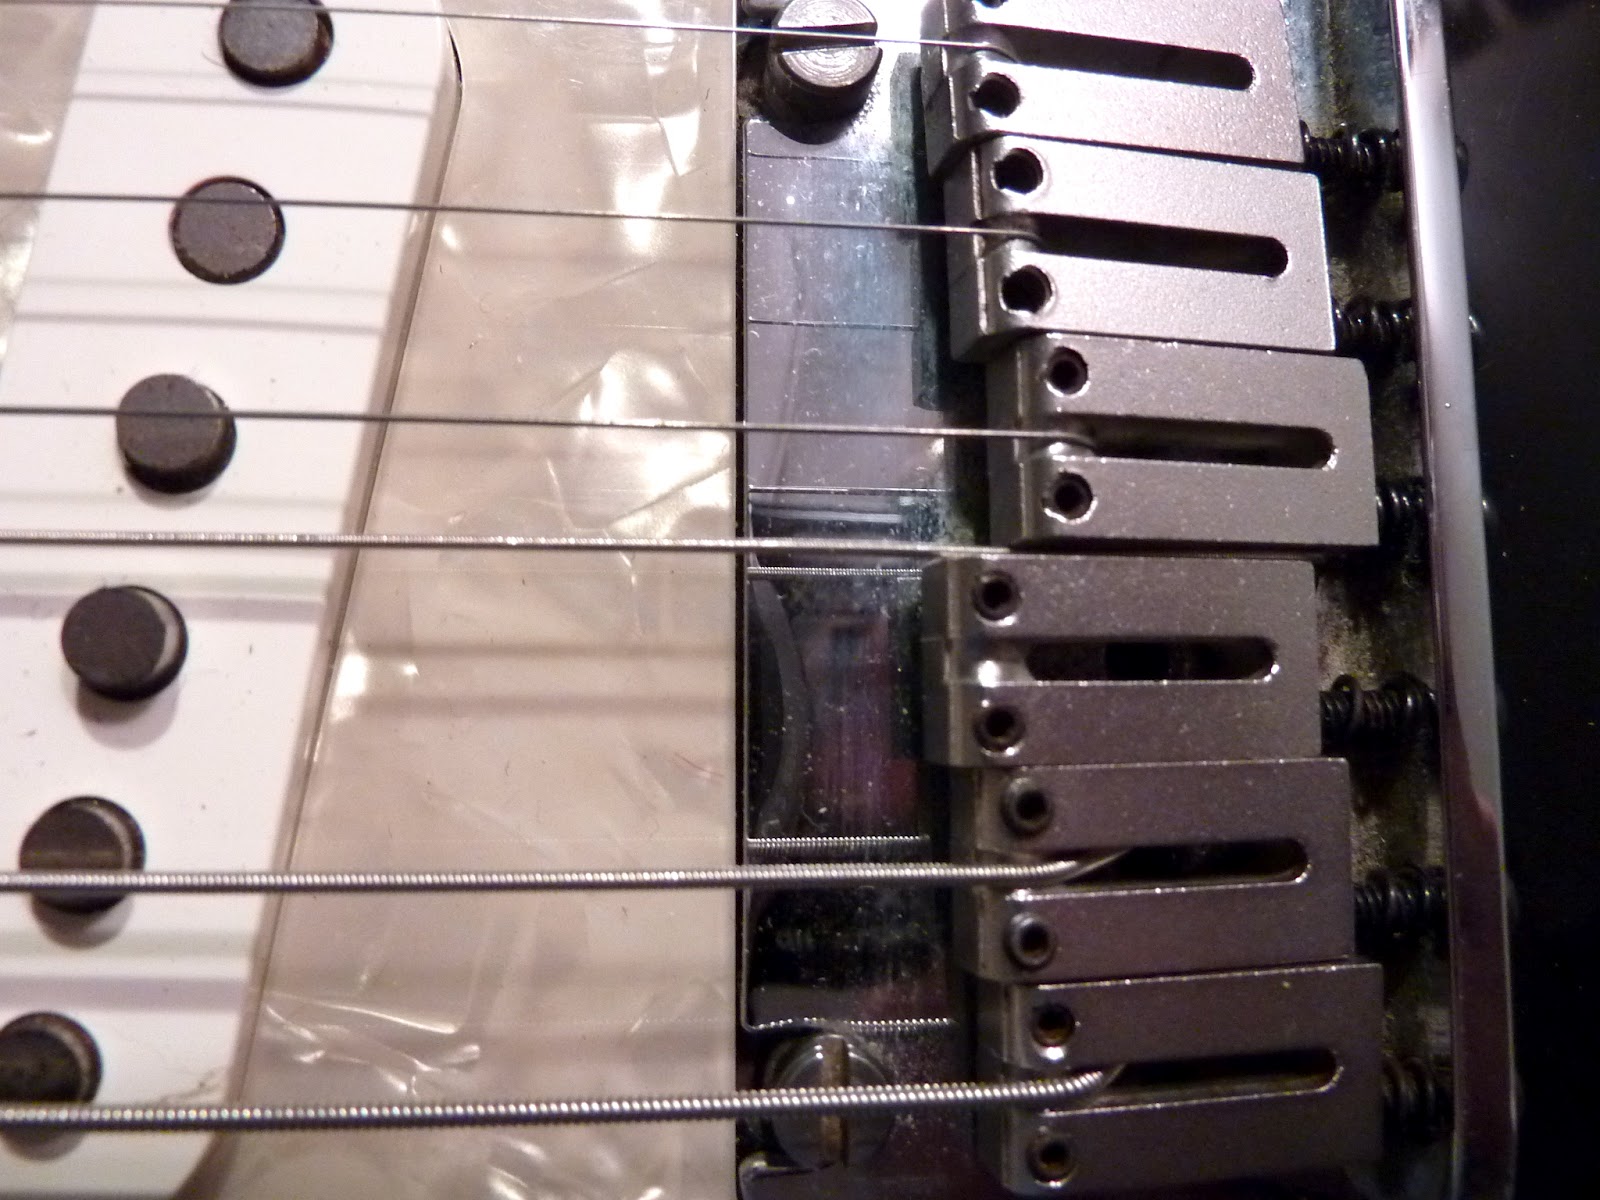
The pickup "springs" were also dried out and therefore non-functional for height adjustment.  These are the vintage style surgical tubing pieces and luckily I had some in stock...

These are the graphite saddles that were on the guitar when it arrived.  Terribly out of adjustment, likely to compensate for the shifty neck angle.  They were replaced with vintage style saddles as well as larger diameter mounting screws through the new maple shim.  This made it sound and function much better.


The neck pocket required a couple of small pieces of veneer to shim it to the correct angle.  Although there is a micro-tilt set screw in the neck pocket, whenever there is enough space crested in it's adjustment it's always best to use a wood shim so as not to put unneeded strain on the mounting screws and to provide more wood surface contact to transfer the tone (camera batteries ran out for this part ~ sorry)


Overall this was a great project and I'm very pleased how it turned out.  The guitar plays very well and feels as solid as a Strat should.  Can't wait for the owner to have this old friend back and hopefully have it return as his number one!


Saturday, October 6, 2012

1974 Gibson Les Paul Signature Goldtop

A rare bird indeed!  This guitar has tons of vibe!  The body contour is literally a split between a 335 and a Les Paul, but it's nothing like either guitar.  This one dropped by for a set-up, fret dress and a good cleaning.  I don't post every set-up I do, as this blog would become quite boring ~ but when something like this comes along it's great to share!


These models had Les Paul's own design of low-impedance pickups, not unlike what he used in his personal Les Paul "Recording" guitar. With two outputs for a hi-fi and low-fi circuit and a phase switch, when used normally it has just one volume and one tone control. I believe the idea behind it was so that the output from the guitar could be cut to half volume so you could crank the amp a bit more to run the tubes hotter.

As for the sound of the pickups themselves, they have a very clean and balanced tone akin to many active pickups today. Very full and rich but also sterile in a way, making them excellent to control from the board in a recording situation. Very chimey jazz tones and excellent Mike Campbell-esque rock sound with an overdrive box in front of the amp. Needless to say, I had some fun when test-driving it after the set-up!


Unlike a 335, there is no solid piece of wood down the middle of the body, making this guitar very resonant.  With epoxy-potted pickups, however, it's not as prone to feedback as one might suspect.


There is a solid piece of what appears to be basswood or poplar under the bridge and saddle, seemingly only to provide a solid anchor for the stud inserts.


Body contour has been achieved by laminating the top and back to slotted solid strips for bend-ability and rigidity.


Overall an inspring guitar to work on and play!


Wednesday, August 15, 2012

B-Band Mystery

Special thanks to my friend and teacher Mike McConville (http://mcconvilleguitars.blogspot.ca/) for referring one of his customers to me.  It saved the owner of this beautiful vintage Gibson D-45 some considerable travel time.

This guitar has the acoustic B-Band under saddle pickup system installed.  It developed some issues a while after it was installed, in that an audible and annoying popping sound was heard whenever the lower bought was jostled or knocked.  A tricky thing to pinpoint in the modern printed circuit board preamp systems...
You can see some of Mike's handywork here.  D-45's of this era came with the tone-sucking adjustable saddle, which had two threaded posts at either end of the saddle.  Mike used a piece of matching rosewood to fill the space then routed in a conventional saddle, hand made from a bone blank.  This is the only way an under saddle pickup system can be installed in these guitars, not to mention the fact that the guitar sounds 100% better!


Here is a view from under the saddle.  You can see the B-Band cable has been routed through the threaded post that previously held the saddle adjustment ~ clever!  It did move around quite a bit inside it though, so I carefully inserted a small piece of cork to stabilize it in the hole.

A preliminary check revealed no loose or shorting connections or electrical anomalies.  Considering the noise was generated from the lower bout, it was time to open the preamp ~ which in this case is attached to the back of the jack...


After removing the assembly I left it connected to see if I could coerce the unit itself to make the popping noise.  It didn't take long, and the culprit turned out to be the battery connector that housed the red & black wires from the 9v power supply.  I noticed someone had put a drop of super glue on the connection, but it obviously didn't fix the problem.

After a little more wiggling I noticed that the black wire sat firmly in place, but the red wire shifted slightly (approx 1/32") within the connector housing.  With the amp on I wiggled it again and sure enough it popped every time.  The red wire wasn't crimped tight enough within the connector, and it moved just enough to cut power momentarily whenever the guitar was jostled.  No wonder the owner was frustrated!

Super glue to the rescue!  A little drop in the hole at the top and back of the black connector did the trick, then the connector itself was cleaned and crimped slightly tighter.  Certainly something to check for when installing or inspecting these systems.

Friday, August 10, 2012

2001 Strat Truss Rod seized

This US made player's Fender Strat was brought in with concerns that the truss rod may be seized or at the end of it's threads.  It's also in desperate need of a fret dress.  As usual, I conducted a preliminary inspection and something jumped out at me right away ~ can you see what it is?


Notice the alignment of the strings?  At the 12th fret, the low E was 3/16" closer to the edge of the fretboard and the high E was 3/16" further away.  You can see it clearly where the strings align off-centre over the pole pieces of the pickups.  This will need some further investigation...

A quick way to check is to remove the D string and pinch it between the 3rd and 4th saddles, then hold it taught at the middle of the nut.  The string should align perfectly centred down the fretboard, and you can use the inlays as a guage...


At just the first inlay you can see how off-centre it is with the string riding slightly higher than the centre of the dot.
It's the opposite at the 15th to 19th frets, where the string rides slightly lower than the centre of the dots...

Unfortunately I didn't have another Strat on hand to compare, but mounting the neck on a known good body would help the process of elimination.  Using some schematics I found online of Strat routing measurements, and considering the neck itself is perfectly straight, I was able to determine that it is most likely the neck pocket being slightly off.  We'll have to see what the owner would like to do, as this makes a perfect set-up near impossible with this compound radius neck...


Now for the truss rod...
A close-up inspection of the nut shows a considerable amount of debris compacted in the allen-key adjustment nut.  Using a scribe and some contact cleaner I was able to loosen and remove it.


Just to be sure, a few swabs put the finishing touches on it and I could now see the nut clearly ~ and the allen-key now fit perfectly too!


I was now ready to see if the truss rod would turn ~ and it didn't!  But with a little added leverage it did move back & forth slightly.  Perhaps a little heat will loosen it up...
Inserting the allen key firmly then holding a high-heat soldering gun to it allowed enough heat to transfer to the truss rod threads.  This is a gradual process, but with a little time the nut was unseized and moved smoothly.  A little mineral oil to keep it that way will do the trick for another ten years!


During set-up I noticed that the saddle on the low E was almost flush against the bridge plate ~ a clear indication that the neck angle is off..


You can see how the end of the neck dips slightly into the body.  While this can eliminate some buzzing, the proper way to set it up is to keep it as level as possible so the saddles have some travel and adjust the bow of the neck to alleviate buzz.  This particular Strat has the "micro-tilt" adjustment in the heel of the neck plate, which can back off over time with so much tension on it.  This is a very minor adjustment that can have a major affect on playability.  After a fret dress and set-up, this axe was ready for action!